This gold bracelet is made with gold curved tubes and the February, August, April, and March Birthstones.

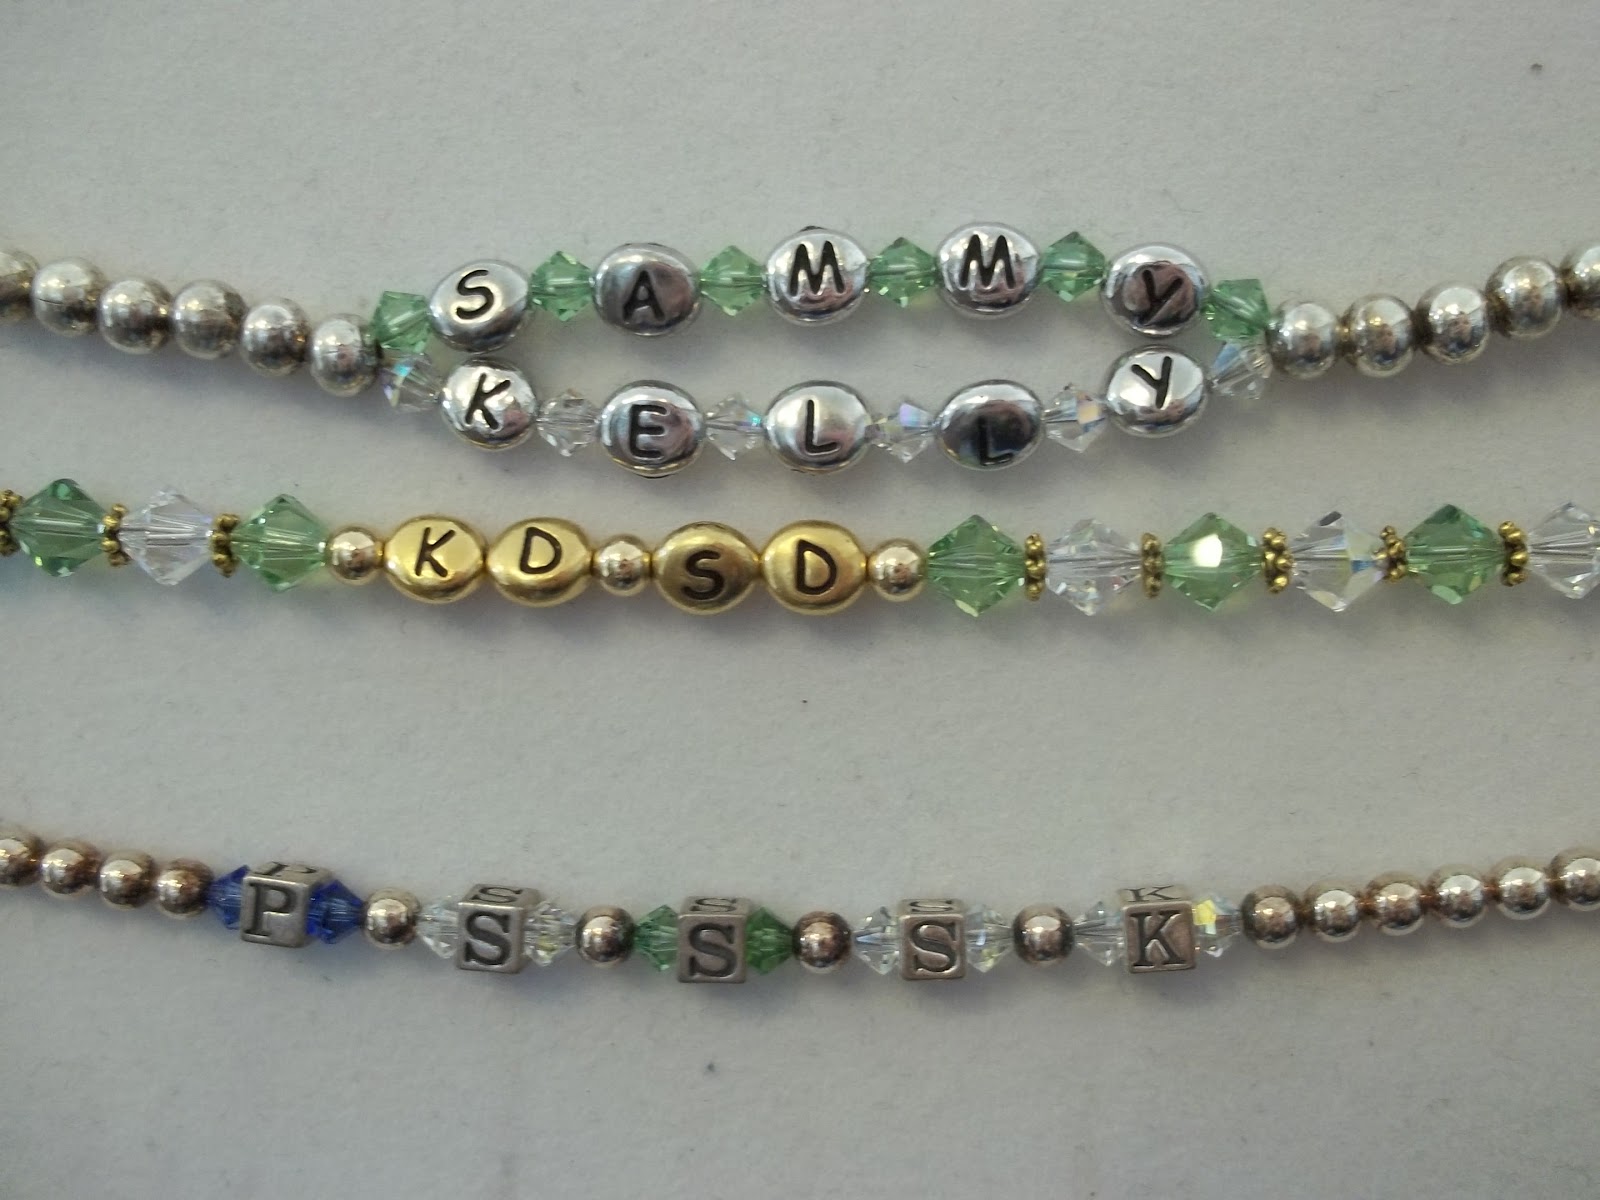
This bracelet is a 3 starnd bracelet with mine, Sammys, and Sammys sisters name on it. They also have the our birthstones on them.

These have initials with birthstones.
Our most requested bracelet is the one with the tubes so I'm going to show you a version of it. You will need:
Assorted Beads
2 Crimp Tubes
2 Wire Protectors
4 Small curved tubes (38x2mm)
ClaspThe wire I will be using for this project is thinner than I would use for most of my beading projects. I will be using a 49 strand wire with a .012 diameter. This thinner diameter allows you to be able to get 2 pieces of wire through your beads. This is my favorite kind to use:

1. Cut two pieces of wire approximately 10 inches long. Put both pieces of wire together thread your desired beads over BOTH wires.

2. Seperate the wires and thread a curved tube onto each wire on both ends.

3. Put your thread back together and thread a few beads over each end. I normally use some 3 or 4mm's to use up the little bit of extra space on the end of the bracelet. You will need more or less depending on the amount of beads you used for the top.

4. Keep the wire together and thread on a crimp tube, wire protector, and part of your clasp.

5. Go back down through the crimp tube and crimp. Trim the tails. You can cover up the crimp tube with a crimp cover is you wish.
6. Repeat step 4 & 5 on the other side.

I hope you guys enjoyed this easy bacelet idea!

2 comments:
I absolutley love this! I think even I can make this, will sure give it a try....you are soooo talented!
Buy bracelet designs for womens online.
Post a Comment